Notion Page Document Loader
Overview
The Notion Page Document Loader is a powerful feature in AnswerAI that allows you to import content from Notion pages, including child pages, and process them as separate documents. This tool is perfect for users who want to leverage their Notion content within AnswerAI for various applications such as analysis, summarization, or integration with other AI-powered features.
Key Benefits
- Easily import content from Notion pages into AnswerAI
- Process parent and child pages as separate documents
- Customize metadata and control which metadata is included in the final output
How to Use
-
Connect your Notion API credential:
- Ensure you have a Notion API integration token
- In AnswerAI, go to the Credentials section and add a new "Notion API" credential
- Enter your Notion integration token
-
Set up the Notion Page Document Loader:
- In your AnswerAI workflow, add a new "Notion Page" node
- Connect your Notion API credential to the node
-
Configure the Notion Page loader:
- Enter the Notion Page ID in the "Notion Page Id" field
- (Optional) Add a Text Splitter if you want to split the loaded content into smaller chunks
- (Optional) Add additional metadata in JSON format
- (Optional) Specify metadata keys to omit from the final output
-
Run your workflow to load and process the Notion page content
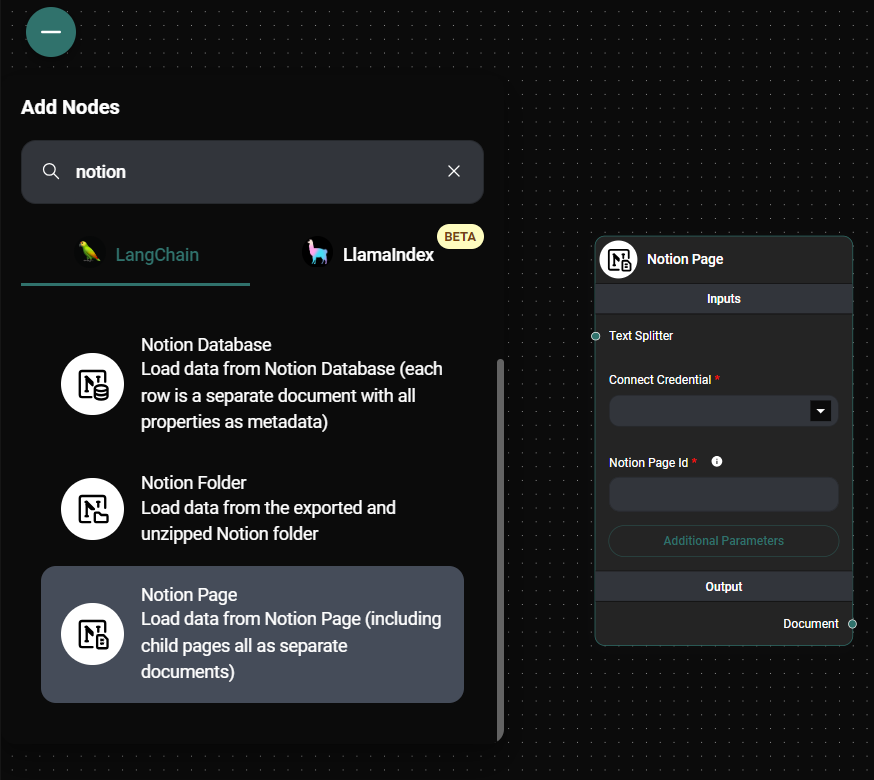
Notion Page Document Loader Node & Drop UI
Tips and Best Practices
-
Page ID: To find the Notion Page ID, look at the URL of your Notion page. The ID is the last 32-character hexadecimal string in the URL path. For example, in
https://www.notion.so/username/Page-Title-b34ca03f219c4420a6046fc4bdfdf7b4, the Page ID isb34ca03f219c4420a6046fc4bdfdf7b4. -
Text Splitter: If you're working with large Notion pages, consider using a Text Splitter to break the content into smaller, more manageable chunks. This can be especially useful for processing with language models or other AI tools.
-
Metadata: Use the "Additional Metadata" field to add custom metadata to your documents. This can be helpful for categorizing or filtering your content later in your workflow.
-
Omitting Metadata: If you want to exclude certain metadata fields from the final output, use the "Omit Metadata Keys" field. You can specify multiple keys by separating them with commas. To omit all default metadata and only include your custom metadata, use an asterisk (*) in this field.
Troubleshooting
-
Issue: Unable to connect to Notion Solution: Double-check that your Notion API integration token is correct and that you've granted the necessary permissions to the integration in your Notion workspace.
-
Issue: Page content not loading Solution: Verify that you've entered the correct Page ID and that you have access to the page in your Notion workspace.
-
Issue: Unexpected metadata in output Solution: Review your "Omit Metadata Keys" settings and ensure you've correctly specified which keys to exclude. Remember to use commas to separate multiple keys.
By following this guide, you'll be able to efficiently load and process your Notion pages within AnswerAI, opening up new possibilities for leveraging your Notion content in your AI-powered workflows.