GCP
Prerequisites
- Notedown your Google Cloud [ProjectId]
- Install Git
- Install the Google Cloud CLI
- Install Docker Desktop
Setup Kubernetes Cluster
- Create a Kubernetes Cluster if you don't have one.
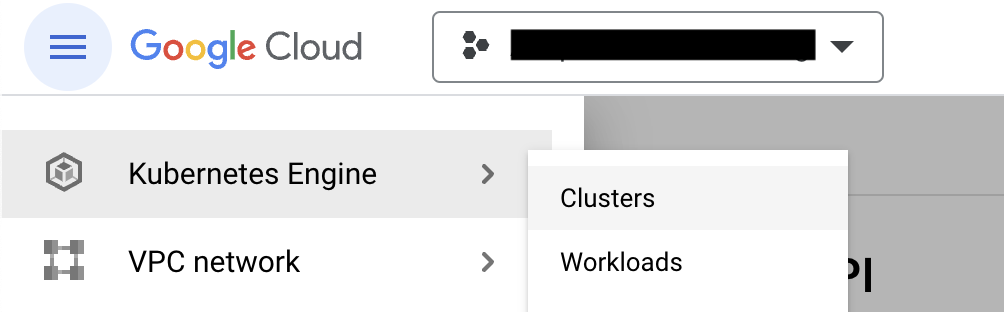
Click Clusters to create one.
- Name the Cluster, choose the right resource location, use
Autopilotmode and keep all other default configs. - Once the Cluster is created, Click the 'Connect' menu from the actions menu
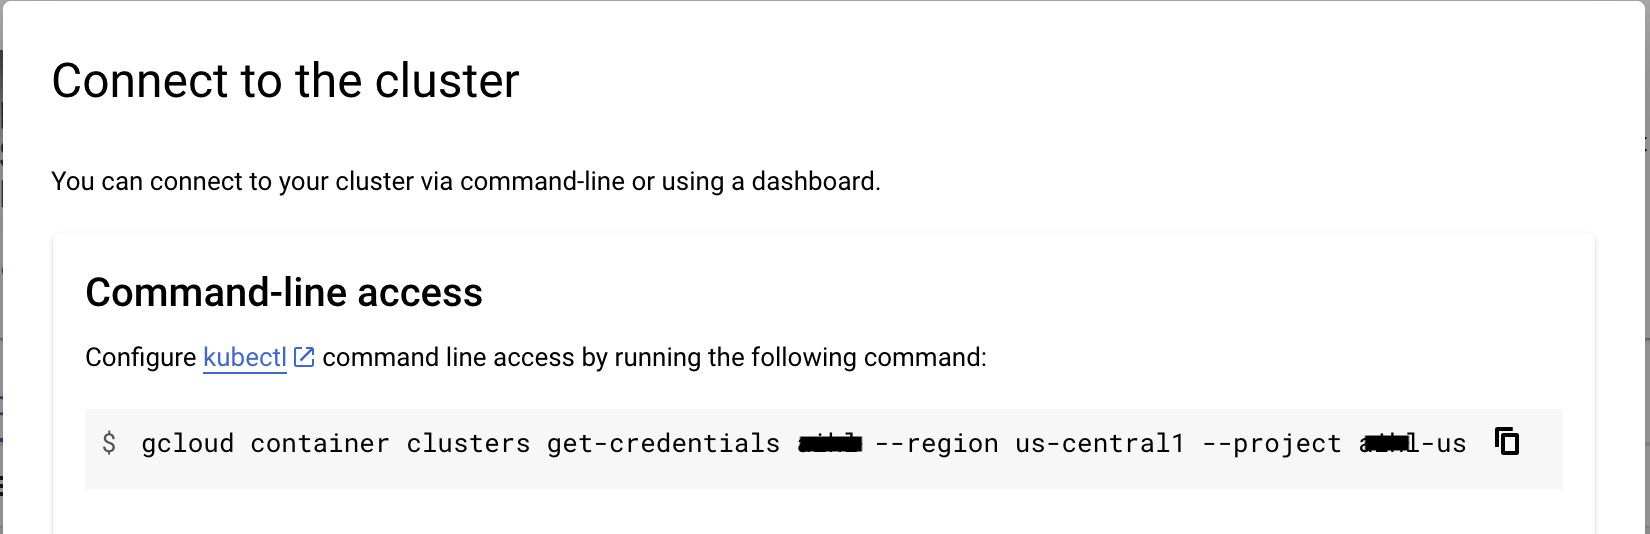
- Copy the command and paste into your terminal and hit enter to connect your cluster.
- Run the below command and select correct context name, which looks like
gke_[ProjectId]_[DataCenter]_[ClusterName]
kubectl config get-contexts
- Set the current context
kubectl config use-context gke_[ProjectId]_[DataCenter]_[ClusterName]
Build and Push the Docker image
Run the following commands to build and push the Docker image to GCP Container Registry.
- Clone the Flowise
git clone https://github.com/FlowiseAI/Flowise.git
- Build the Flowise
cd Flowise
pnpm install
pnpm build
- Update the
Dockerfilefile a little.
Specify the platform of nodejs
FROM --platform=linux/amd64 node:18-alpineAdd python3, make and g++ to install
RUN apk add --no-cache python3 make g++
- Build as Docker image, make sure the Docker desktop app is running
docker build -t gcr.io/[ProjectId]/flowise:dev .
- Push the Docker image to GCP container registry.
docker push gcr.io/[ProjectId]/flowise:dev
Deployment to GCP
- Create a
yamlsroot folder in the project. - Add the
deployment.yamlfile into that folder.
# deployment.yaml
apiVersion: apps/v1
kind: Deployment
metadata:
  name: flowise
  labels:
    app: flowise
spec:
  selector:
    matchLabels:
      app: flowise
  replicas: 1
  template:
    metadata:
      labels:
        app: flowise
    spec:
      containers:
      - name: flowise
        image: gcr.io/[ProjectID]/flowise:dev
        imagePullPolicy: Always
        resources:
          requests:
            cpu: "1"
            memory: "1Gi"
- Add the
service.yamlfile into that folder.
# service.yaml
apiVersion: "v1"
kind: "Service"
metadata:
name: "flowise-service"
namespace: "default"
labels:
app: "flowise"
spec:
ports:
- protocol: "TCP"
port: 80
targetPort: 3000
selector:
app: "flowise"
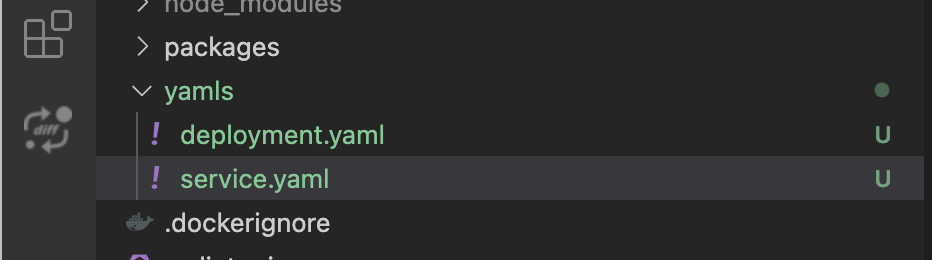
type: "LoadBalancer"
It will be look like below.
- Deploy the yaml files by running following commands.
kubectl apply -f yamls/deployment.yaml
kubectl apply -f yamls/service.yaml
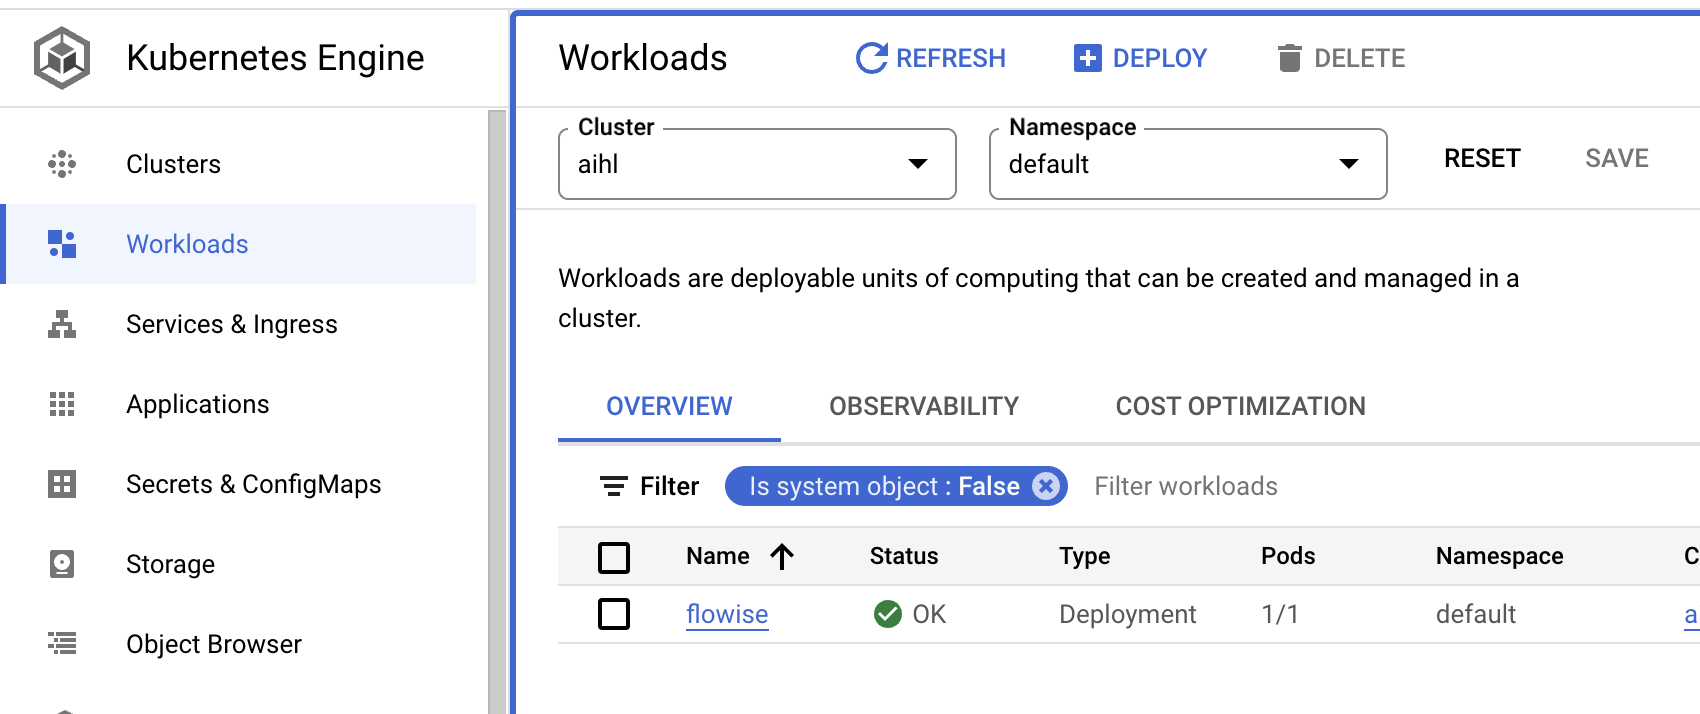
- Go to
Workloadsin the GCP, you can see your pod is running.
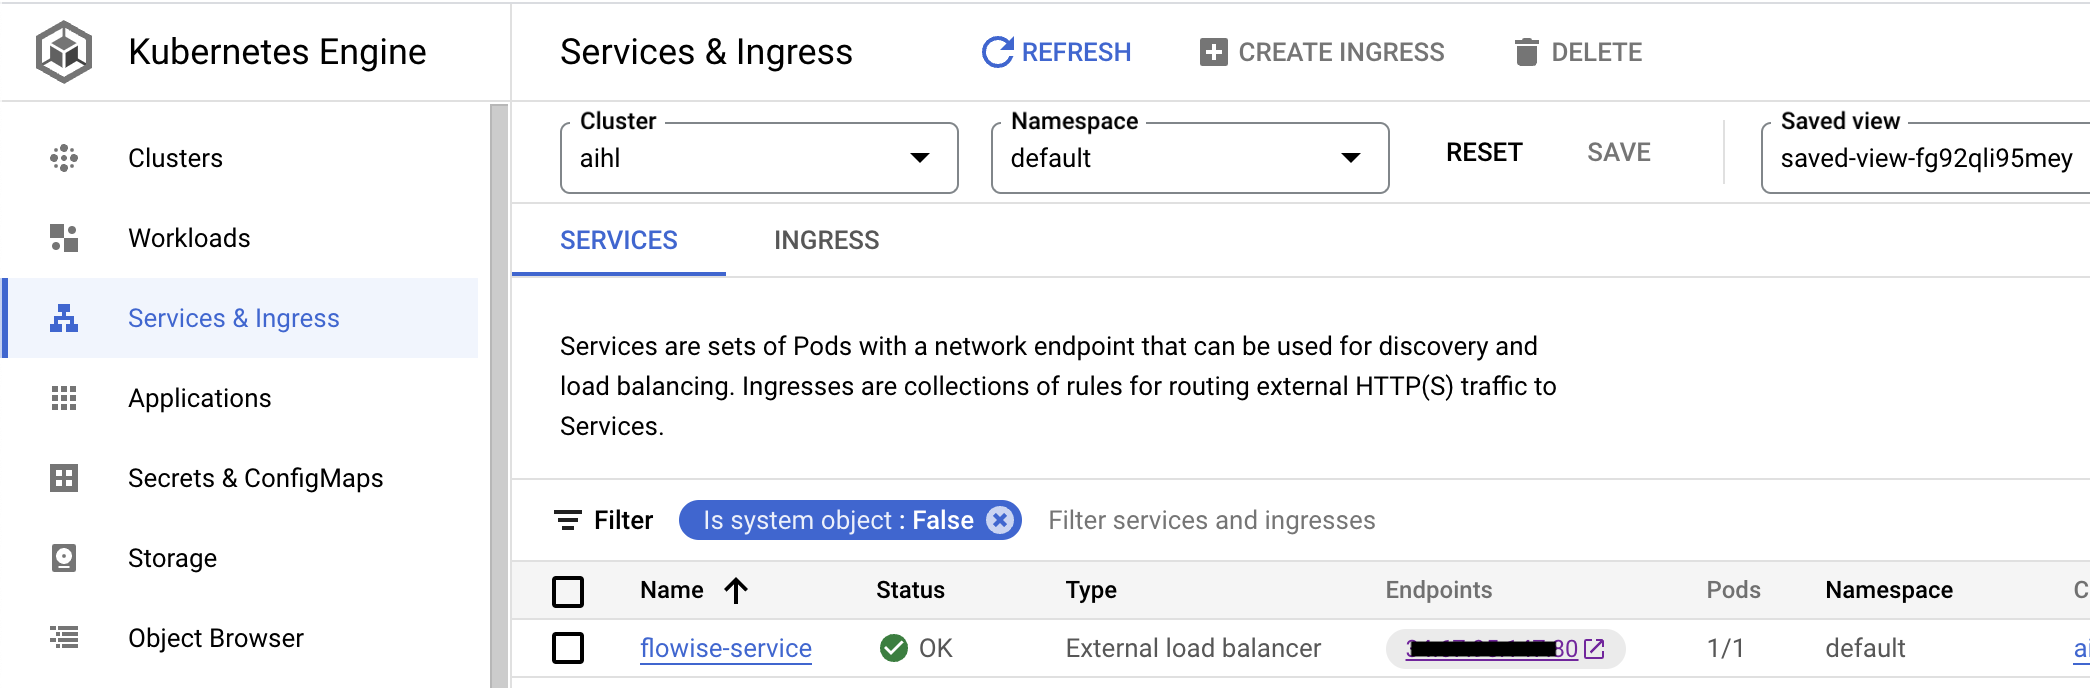
- Go to
Services & Ingress, you can click theEndpointwhere the Flowise is hosted.
Congratulations!
You have successfully hosted the Flowise apps on GCP 🥳
Timeout
By default, there is a 30 seconds timeout assigned to the proxy by GCP. This caused issue when the response is taking longer than 30 seconds threshold to return. In order to fix this issue, make the following changes to YAML files:
Note: To set the timeout to be 10 minutes (for example) -- we specify 600 seconds below.
- Create a
backendconfig.yamlfile with the following content:
apiVersion: cloud.google.com/v1
kind: BackendConfig
metadata:
    name: flowise-backendconfig
    namespace: your-namespace
spec:
    timeoutSec: 600
- Issue:
kubectl apply -f backendconfig.yaml - Update your
service.yamlfile with the following reference to theBackendConfig:
apiVersion: v1
kind: Service
metadata:
    annotations:
        cloud.google.com/backend-config: '{"default": "flowise-backendconfig"}'
    name: flowise-service
    namespace: your-namespace
- Issue:
kubectl apply -f service.yaml